
Ed and I are pescetarian...ish. This was a recent development after our Grand Aussie Tour, so we've had to explain the reason for this switch many times in the last few months. This explanation usually follows a meek, almost reluctant request for more pescetarian-friendly dishes to be ordered. And it always starts with The Time We Went To The Petting Farm. To cut the long story short, we find them too precious to demand that their lives be given up just to satisfy our wants.
That being said, we are pescetarian-ISH, which means we try not to be too strict with our diet if it is inconvenient. At communal meals, we eat only the seafood and vegetables, unless there is leftover meat. It is one thing not to want to take life, but quite another to waste it once it has been taken.
With this new diet though, our options are definitely more limited. For Ed, who possibly loves Indian cuisine more than any other cuisine, it means not being able to eat his favourite briyani because it is usually available only with chicken, mutton or beef. Personally, I am barely affected because my perfect Indian meal is simply a vegetable set (i.e. free flow white rice and the two vegetables of the day) with a side of sotong (aka squid) in black sauce. If I'm feeling particularly hungry, I'd add a fish cutlet. And as I like my vegetables light, crunchy and not drenched in a heavy sauce (as is usually the case in Northern Indian cuisine), I have a particularly soft spot for Karu's Indian Banana Leaf Restaurant along Upper Bukit Timah Road. I think they probably realised that their free flow cabbage was getting such a following that it should always be one of the two vegetables of the day, which is a little ironic but I'm not complaining. That was a slight digression, but I couldn't help inserting a plug for Karu's.
Anyway, given how this new diet has prevented Ed from getting the full Indian experience, I'm sure you can imagine how incredibly excited and pleased he was when he chanced on a recipe for Prawn Briyani. We were doing some quiet reading in bed when he startled me with his sudden exclamation, and promptly saved the recipe onto my iPad for me lest I forget.
It looked delicious, so I surprised Ed with it one night when he returned home after a night class. To be fair, the recipe was really easy. The only time-consuming part was possibly peeling and de-veining the prawns. But seeing Ed's face morph as he realised what a treat I had prepared for 'supper' (at 1030pm, yeah I know, really bad habit), made that little effort absolutely worth it.
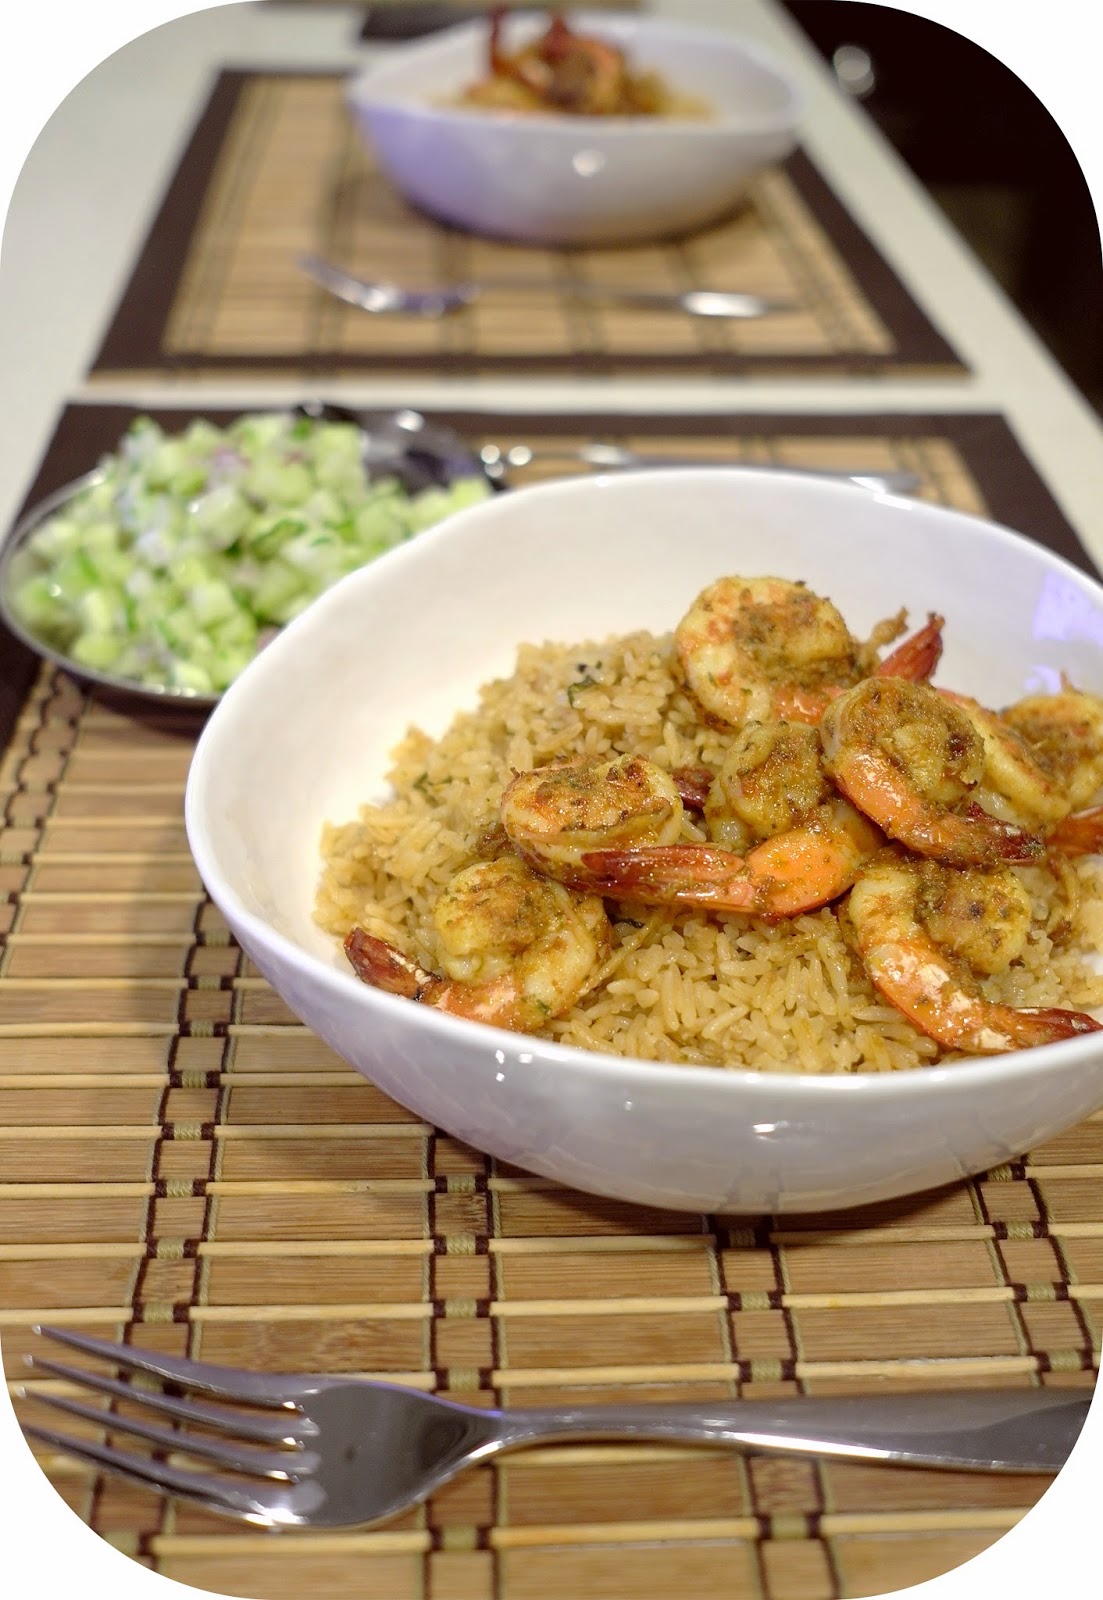
One of the tweaks I made to the recipe, as suggested by Ed, was to make a quick prawn stock from the prawn shells to cook the rice in. (This suggestion almost brought me to tears! Oh how far my dear sous chef has come from those days when the only method of cooking he was familiar with was boiling [insert blank] in plain water.) That might explain why the briyani I made turned out much deeper in colour than the one in the original recipe. Considering how little stock I needed to cook just 1.5 cups of rice, I had to boil down the stock so it became incredibly concentrated and full of flavour. The other tweak was to simply use a fish curry powder in place of the tumeric powder, which I had just run out of. And because I used chilli padi in the paste for the prawns, I figured the meal wouldn't be complete without a cool cucumber recipe. The author provided a kachumber recipe, but I kept it simple by mixing diced cucumber with mint, finely diced shallots, and adding some vinegar and salt to taste. It provided a much needed refreshing contrast to the heat and spice in the Prawn Briyani. This combination of recipes is definitely a keeper, and even seems like something I can prepare in larger quantities quite easily! A huge plus when thinking of what to bring to your next potluck, perhaps?
That being said, we are pescetarian-ISH, which means we try not to be too strict with our diet if it is inconvenient. At communal meals, we eat only the seafood and vegetables, unless there is leftover meat. It is one thing not to want to take life, but quite another to waste it once it has been taken.
With this new diet though, our options are definitely more limited. For Ed, who possibly loves Indian cuisine more than any other cuisine, it means not being able to eat his favourite briyani because it is usually available only with chicken, mutton or beef. Personally, I am barely affected because my perfect Indian meal is simply a vegetable set (i.e. free flow white rice and the two vegetables of the day) with a side of sotong (aka squid) in black sauce. If I'm feeling particularly hungry, I'd add a fish cutlet. And as I like my vegetables light, crunchy and not drenched in a heavy sauce (as is usually the case in Northern Indian cuisine), I have a particularly soft spot for Karu's Indian Banana Leaf Restaurant along Upper Bukit Timah Road. I think they probably realised that their free flow cabbage was getting such a following that it should always be one of the two vegetables of the day, which is a little ironic but I'm not complaining. That was a slight digression, but I couldn't help inserting a plug for Karu's.
Anyway, given how this new diet has prevented Ed from getting the full Indian experience, I'm sure you can imagine how incredibly excited and pleased he was when he chanced on a recipe for Prawn Briyani. We were doing some quiet reading in bed when he startled me with his sudden exclamation, and promptly saved the recipe onto my iPad for me lest I forget.
It looked delicious, so I surprised Ed with it one night when he returned home after a night class. To be fair, the recipe was really easy. The only time-consuming part was possibly peeling and de-veining the prawns. But seeing Ed's face morph as he realised what a treat I had prepared for 'supper' (at 1030pm, yeah I know, really bad habit), made that little effort absolutely worth it.
One of the tweaks I made to the recipe, as suggested by Ed, was to make a quick prawn stock from the prawn shells to cook the rice in. (This suggestion almost brought me to tears! Oh how far my dear sous chef has come from those days when the only method of cooking he was familiar with was boiling [insert blank] in plain water.) That might explain why the briyani I made turned out much deeper in colour than the one in the original recipe. Considering how little stock I needed to cook just 1.5 cups of rice, I had to boil down the stock so it became incredibly concentrated and full of flavour. The other tweak was to simply use a fish curry powder in place of the tumeric powder, which I had just run out of. And because I used chilli padi in the paste for the prawns, I figured the meal wouldn't be complete without a cool cucumber recipe. The author provided a kachumber recipe, but I kept it simple by mixing diced cucumber with mint, finely diced shallots, and adding some vinegar and salt to taste. It provided a much needed refreshing contrast to the heat and spice in the Prawn Briyani. This combination of recipes is definitely a keeper, and even seems like something I can prepare in larger quantities quite easily! A huge plus when thinking of what to bring to your next potluck, perhaps?
Ingredients
1 1/2 cups rice (basmati preferred)500 grams large prawns, shelled and de-veined (reserve the shells, including heads)
1 1/2 tsp salt
1 tablespoon fish curry powder
1/4 cup packed with chopped coriander
1/2 - 2 chilli padi, depending on your tolerance for heat
1 piece of ginger, about 3cm long
3 cloves of garlic
5 tbsps of oil
1 medium-sized shallot, chopped
1/2 tsp whole black peppercorns
1/2 cinnamon stick
30 grams butter
1/4 tsp whole cloves
5-6 whole green cardamom pods
1 bay leaf
1 sprig of mint, chopped
water
Method
For prawn stock:
Over medium heat, heat 1 tbsp of oil in a medium-sized saucepan that can accommodate all the prawn shells.
Add prawn shells and fry until the shells turn red.
Add enough water to cover the the shells and turn down to low heat as you prepare the rest of the ingredients.
For rest:
Add the salt and fish curry powder to the prawns and mix well. Refrigerate until ready to use.
Using a food process, blend the peeled ginger and garlic, and coriander and chilli until it forms a paste. Add a little oil if the paste is too dry and needs some help to be processed into a smoother paste.
Heat 3 tbsps of oil on medium heat in a small saucepan.
Add peppercorns, cinnamon, cloves, cardamom and 1/2 bay leaf. Fry until fragrant, approximately 2-3 minutes.
Add chopped onion and fry until light brown, stirring constantly.
Add half the paste and fry for another minute until fragrant.
Add prawn stock and bring to a boil.
Simmer until you have just enough prawn stock to cook the rice as you normally would. But err on the side of adding less water as briyani is usually more dry.
Wash the rice and use the prawn stock in place of water to cook the rice as you normally would.
Add butter, mint and 1/2 tsp salt before cooking the rice.
Just before it is time to serve the dish:
Over high heat, heat 2 tbsps of oil in a frying pan large enough to accommodate the prawns and still have some space between prawns so that the prawns don't end up steaming.
Add the remaining paste to the frying pan along with the rest of the bay leaf. Fry until fragrant, about 1-2 minutes.
Add the prawns and fry until they just turn pink all round, about 3-5 minutes.
To serve, top a generous helping of rice with the prawns and serve with a cucumber salad.
========================================
Cool Cucumber Salad
Ingredients
1 cucumber, peeled, deseeded and diced
5 mint leaves, chopped finely
1 small shallot or 1/2 medium-sized shallot, peeled and finely diced
1 tbsp white vinegar
Salt
Method
Mix all the ingredients in a bowl, and add salt to taste.


.JPG)
.JPG)

